Photogrammetry Porting Pipeline for VR
Pipeline - Dec 10, 2023 Migrated from Tumblr
This is an old pipeline I wrote for a job many years ago - when photogrammetry was around but the libraries were not fleshed out, and the advancements made by Metahuman and Reallusion were not available. In addition to that, I was limited by a razor thin development budget. Here’s what I came up with:
Generate a Photogrammetry Mesh
Start with a Mixamo character - this spits out a rigged model already skinned, which plugs directly into Lip Sync Pro.
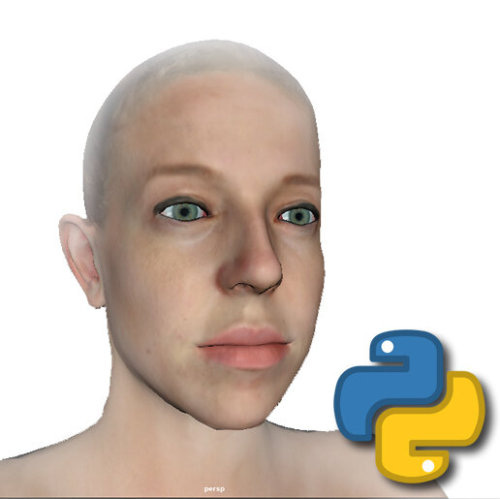
Using a photogrammetry scan, morph the geometry of the starter character, and port over the textures. To make this faster, I wrote a pymel script for speeding up the process.
<iframe width="560" height="315" src="
title="YouTube video player" frameborder="0" allow="accelerometer; autoplay; clipboard-write; encrypted-media; gyroscope; picture-in-picture; web-share" allowfullscreen></iframe>
Create Facial Capture
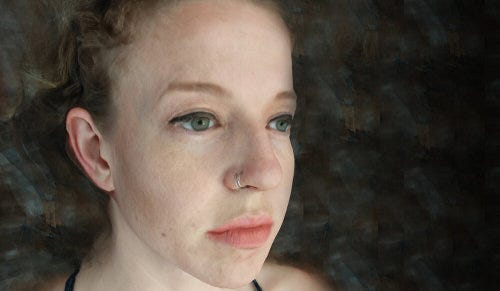
Autodesk Recap is what I was using for the model photogrammetry scan, and it worked great for the initial portrait. It did not work well for capturing blendshapes, however, due to how many photos it needs. It’s just impossible for a model to stay still that long.
For this I used a camera from a defunkt startup called Fuel3D. They were originally aiming to serve optometrists for virtual eyeglass fitting and do a very good job of a single photo capture by simulating this research method. The camera itself combines 2 RGB cameras and three flashes, setting them all off in a quick succession - gathering two points of view lit at three different angles. The software then processes and generates a fairly high-resolution mesh which doesn’t take too long to capture.
Once blendshapes were created based on the Fuel3D capture, I rigged my model using IClone and exported it.
<blockquote class="imgur-embed-pub" lang="en" data-id="a/Kesx9qr" data-context="false" ><a href="//imgur.com/a/Kesx9qr"></a></blockquote><script async src="//s.imgur.com/min/embed.js" charset="utf-8"></script>
Create Deformation Blendshapes
These characters were to be used in VR - where realistic hands are very important. Since my process was cheap photogrammetry and speed oriented (I did not have a license to Zbrush, or the computer/tablet to handle it), I created scans of muscles deforming at the angles I needed.
I then went into maya and rotated the model so it would be in the position which would trigger that deformation, lined up a reference scan, and then used this series of tools to create a blendshape for that rotational angle
CaptureMirroredState-2.py and MirrorVerts.py are a two part series of pymel scripts which work together. CaptureMirroredState_2 scrolls through a list of selected vertices, finds its mirror vertex, and saves both to a file for later access. This is important, because if the vertex ID is altered, it can break the blendshape system. MirrorVerts copies the vertex positions in said saved group to one side or the other.
SnapToNearbyVerts.py scrolls through a list of selected vertices and snaps to the nearest vertex, regardless of ID.
CopyVerts.py takes two models with the same set of vertex ID configurations and copies the position of each vertex from one to the other.
MirrorJoints.py copies the rotation of joints from one side to the other.
I would then take note of the joint rotation values, skin the new deformed mesh to the skeleton (enabling multiple bind poses) and then reset the rotation of the skeleton. This became my new blendshape morph target.
Fingernails, caruncula, outer eye, and hair needed to be manually created using good ol’ artistic elbow grease. I did leverage the hair in mixamo as much as possible to get around creating hair cards by hand.
Interactive IK
This character pipeline was meant to generate characters for both first and third person use in VR, which meant they had to work as NPCs and embodied VR characters in 6DOF.
In order to drive both control methods, I set them up using Final IK.
For the first-person setup I set it to VRIK with the following values:
Under the spine, set the head target to the VR headset position, and set position and rotation weight to 1.
Load the left- and right-hand position to the handset positions.
Under Locomotion, set Foot Distance to 0.11, Step Threshold to 0.21, Root Speed to 32, and Step Speed to 3.75.
For the third person (NPC) controls I used a biped IK, and had the look IK controller follow the speaker (in multi character scenarios), or the camera (in 1:1 scenarios)
Animating the Hands
Download HandController.cs, and HandStates.fbx HandStates.controller, LeftHand.mask, and RightHand.mask.
Add the HandStates.controller as the animator, and HandController.cs. The script will listen for input from the VR controllers (like trigger press or thumb up) and send signals to the model to animate the hands accordingly. The Animator runs through several Blend Trees to approximate which hand position will most closely match the user’s motion.
Drive Muscles Based on Rotation
Forearms were a special case, and I drove them using a script (ForearmTwist.cs) which simulated the way the radius and ulna rotate around each other. This script gauges the rotation of the hand and drives the rotation of the intermediate forearm bones a percentage of the hand rotation value, so as to create a more gradient twist. It also blends between a series of corrective blendshapes to morph the forearms to a more realistic shape at each 90° of rotation.
The other muscle deformations (like neck) could be handled by this more generic script (GenericRotation.cs). It is less specific, and simply drives a blendshape based on the value of a bone’s rotation.
<blockquote class="imgur-embed-pub" lang="en" data-id="a/xeYTtiB" data-context="false" ><a href="//imgur.com/a/xeYTtiB"></a></blockquote><script async src="//s.imgur.com/min/embed.js" charset="utf-8"></script>
Capture In-Scene Eye Reflections
I was using Ansel to capture a 360° photo of the Unity scene, from the position I wanted the characters to congregate. I set its values to only capture in black and white, with the levels set that the white threshold was fairly high. I then converted the black parts to transparent, and this became loaded into a cutout shader, which was applied to the outer eye. The outer eye object was linked in its translation, but not rotation to the eye bones, so that when the character moved, there was an accurate simulation of the reflection of the world, and the secularity moved to match if the head rotated, but stayed still if only the eyes rotated.
Next Steps
This was as far as I got, but had I continued my next steps would have been to
Generate body animations using a VR headset and hand controllers, allowing a person to quickly act out what they wanted the characters to do
Capture verbal performance of the person acting (from the oculus microphone) and run that through OVR to automatically generate facial animation


