Motion Warping
Setup Notes

What is it:
Updates an animation so it contorts gracefully when asked to move or rotate a distance
Enable Motion Warping in your plugins
In your animation sequence, check EnableRootMotion
In your animation montage (if you don’t have one, right click the Animation Sequence > Create > Create AnimMontage) right click in notifies track, Add Notify State > Motion Warping
Set the bounds around the area movement is occurring most
Under Details
Anim Notify > Root Motion Modifier: Select Adjustment Blend Warp
Give it a Sync Point Name
Warp Translation toggles whether the warping will impact the character position
Ignore ZAxis will toggle whether or not the character is locked to the ground
Warp Rotation will toggle whether the character will rotate to face target
Default: Instancing the rotation of the object in the world
Facing: Will face the direction of the object.
In the Character’s Blueprint:
Add a component called “Motion Warping”
Drag this into your event graph, and connect it to “Add or Update Warp Target from location and rotation”
Set the warp target name to match the Sync Point name in your Animation Montage
Target location and rotation are where the object will target
Get the actor you want to target
Node “Get Actor of Class” > “GetActorLocation”
plug into either translation, rotation, or both, depending on effect you want
Play Anim Montage
Drag the mesh in, “Play Montage”’
Select montage asset
In Animation Blueprint
if you don’t already have it, create Montage > “Slot’DefaultSlot’” and feed that into Output Pose
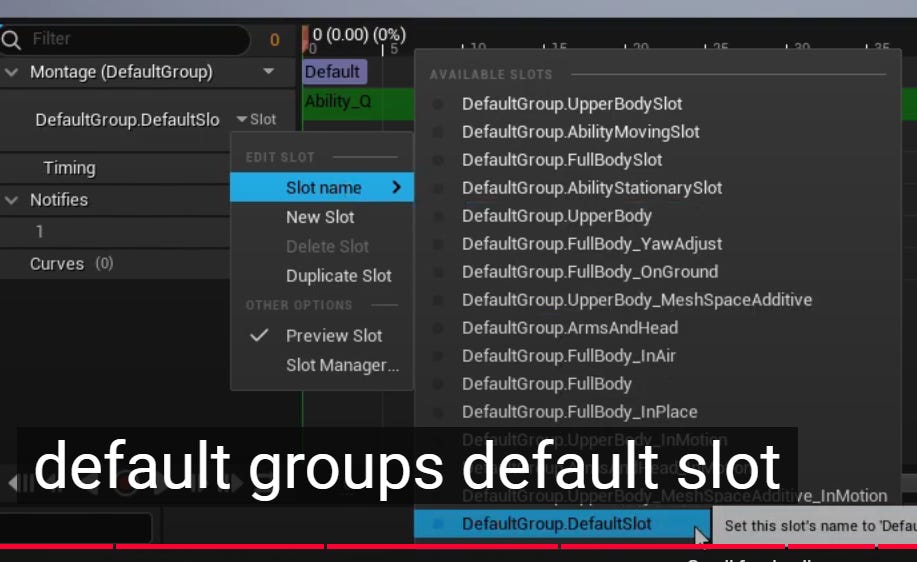
Which slot you play in is determined in your Animation Montage

If you need to change the slot: